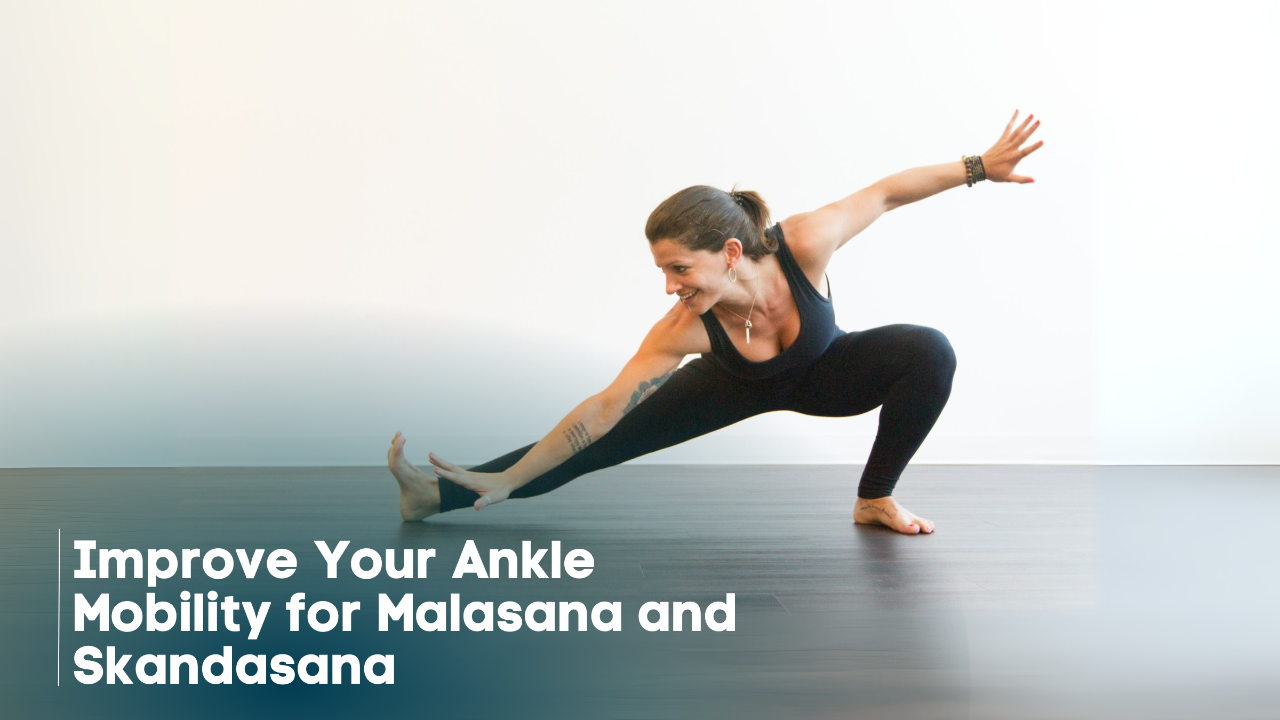
Improve Your Ankle Mobility for Malasana and Skandasana
You’re in yoga class and the teacher calls out Skandasana. You shift your weight to the side, start to lower down, and then poof... your heel pops off the floor like the mat suddenly turned into lava.
Sound familiar? It probably shows up in Malasana too. And the cue you usually get in class? “Just put your heels down." But forcing your heels to the mat won’t magically change what your body can do.
Skandasana and Malasana, and even plain old squats, demand two things at once: deep hip mobility and strong ankle dorsiflexion (the ability to pull your toes toward your shin). If one or both of those aren’t fully there yet in your body, your heels will lift. It’s a natural result of your current mobility, not a flaw or a failure.
Why Your Heels Lift
There are usually two reasons your heels won’t stay down (and neither of them involves lava!):
Your bones: For some people, the shape of your foot or your ankle naturally limits how far the heel can lower to the mat. That’s just anatomy. No amount of stretching (or swearing) is going to change it. If this is you, use props and release the urge to jam your heels down.
Tight muscles: For the rest of us, the heels popping up is usually a calf or shin mobility issue. When those muscles are tight or weak, your knees might struggle to travel far enough forward over your toes, and the heels pop up to allow you to balance in your squat. The good news is that you can improve this with a few targeted techniques.
1. Myofascial Release
Myofascial release is an easy and effective way to start working on your ankle mobility. By applying gentle pressure to tight spots in your lower legs using a tennis ball or an MFR ball, you can help your tissues release, which in turn will allow your ankles to sink closer to the mat.
Here’s a quick MFR routine:
- Sit on the floor and place a ball under one calf.
- Roll slowly from just above your ankle to mid-calf.
- Lean in for more pressure, or back off if it’s too intense. You want to feel something, but still be able to breathe.
- Point and flex your foot. Pause on tight spots (the ones that might make your eyes twitch!) for 20–30 seconds.
- Explore the inner and outer edges of your calf, but skip right behind the knee.
You can do one leg straight after the other, or roll out one leg, then try out Malasana or Skandasana, and see if you notice any difference between sides, before rolling out the second leg.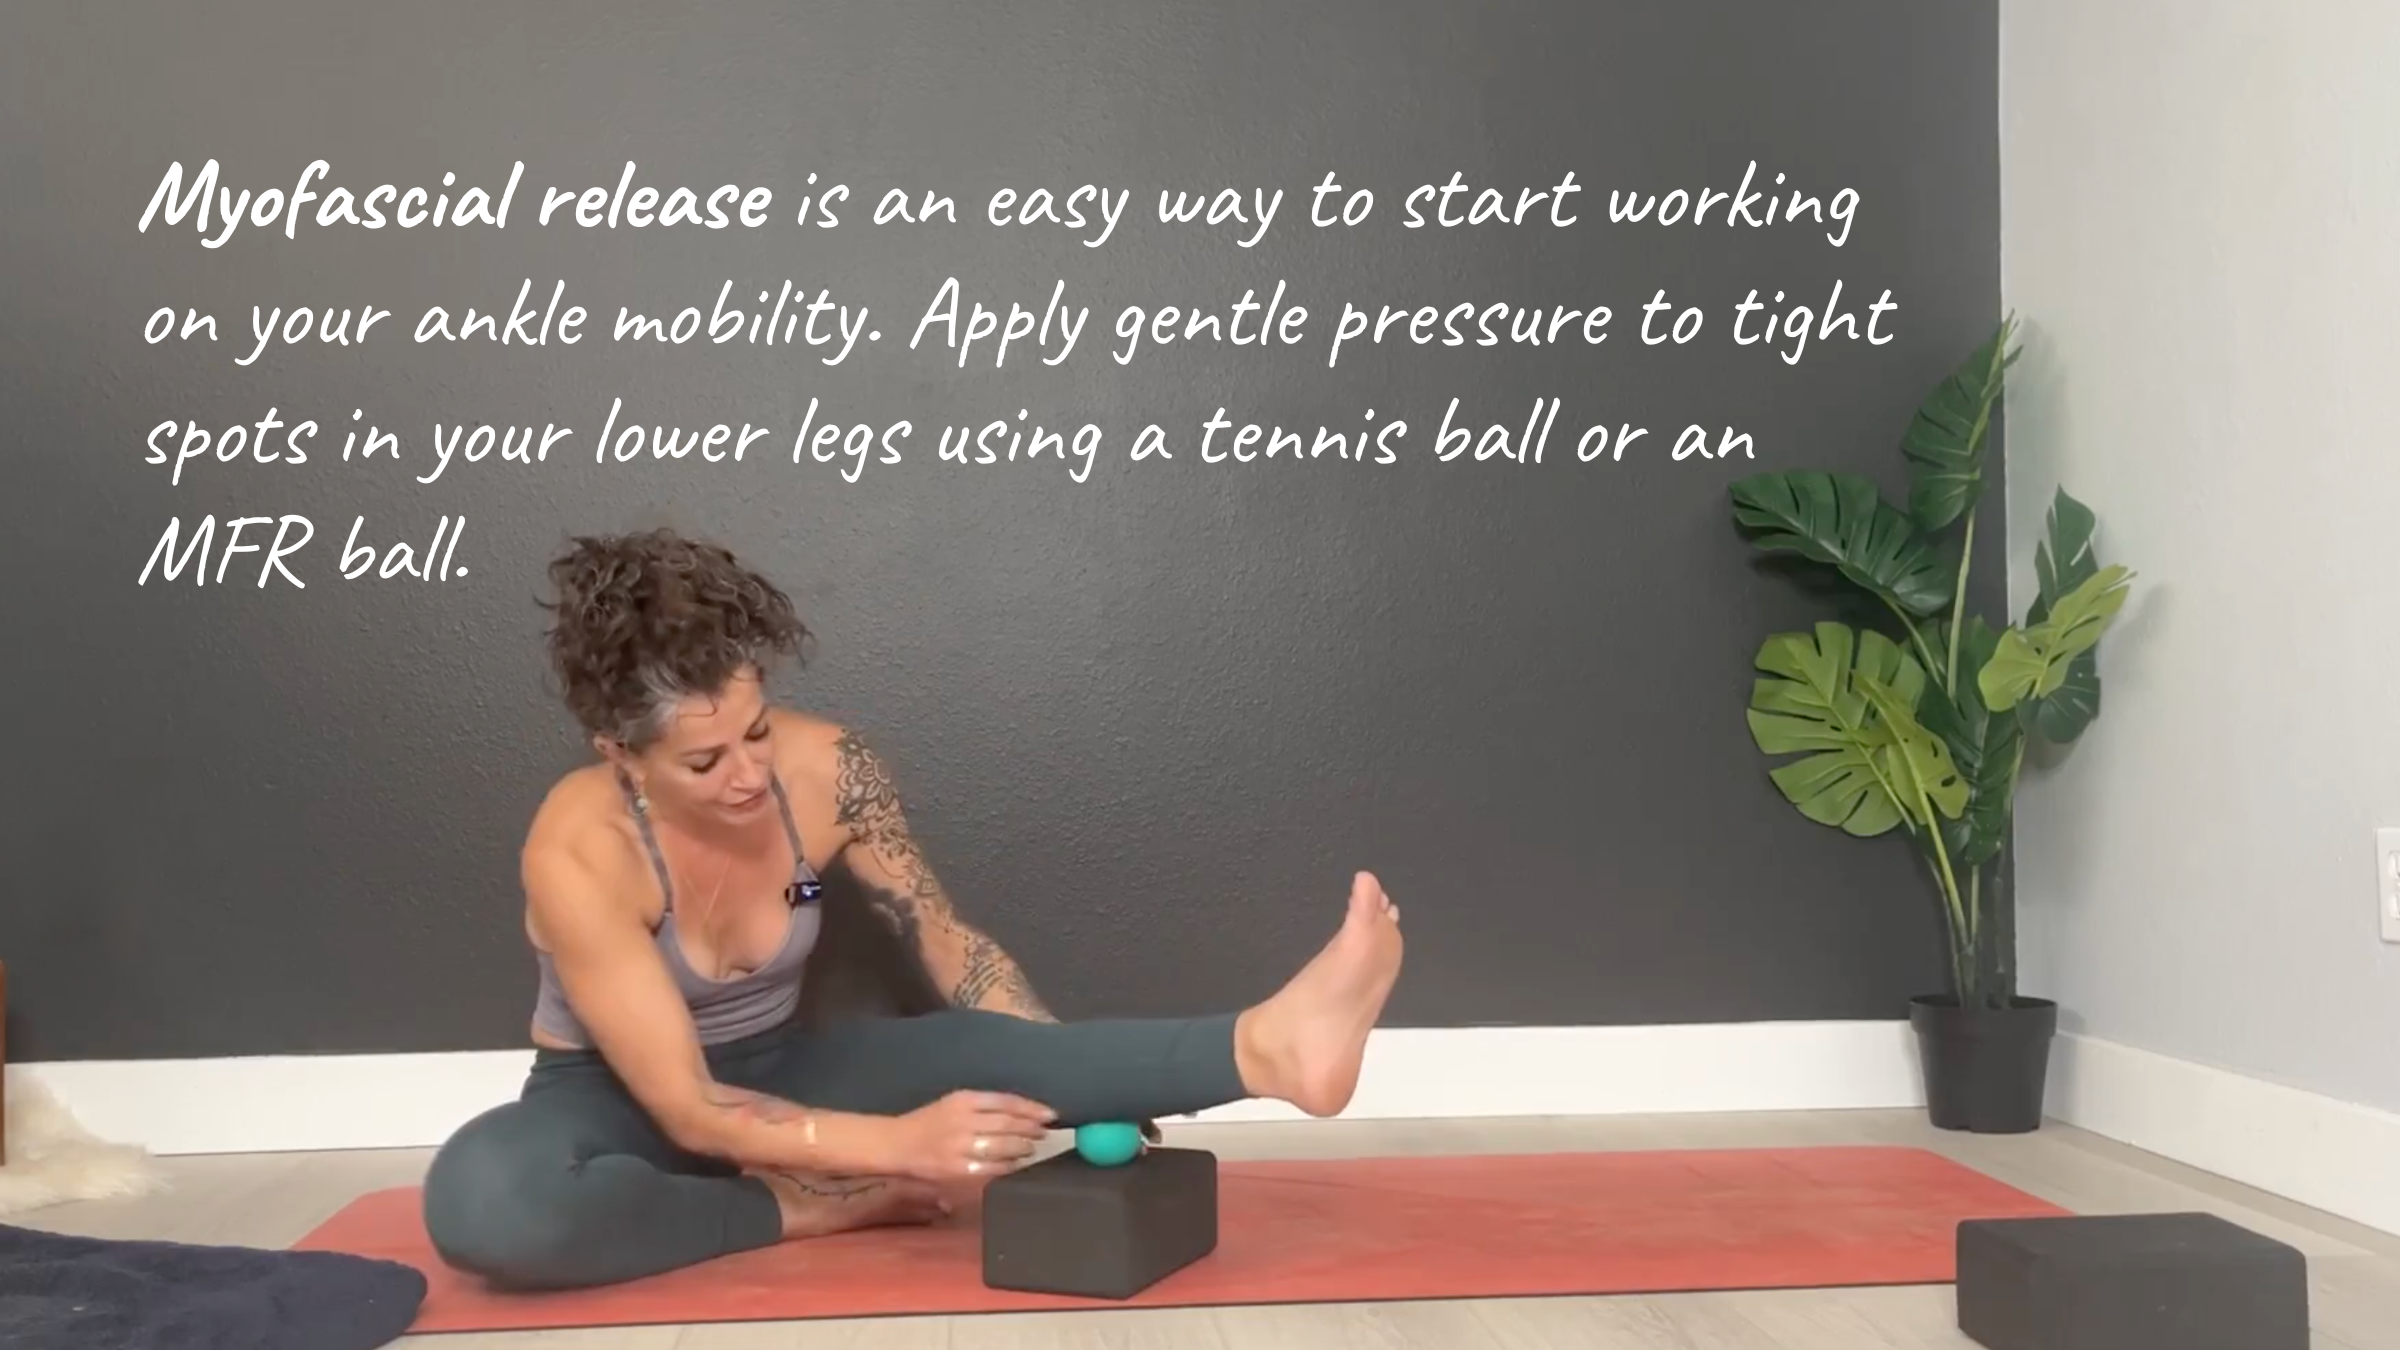
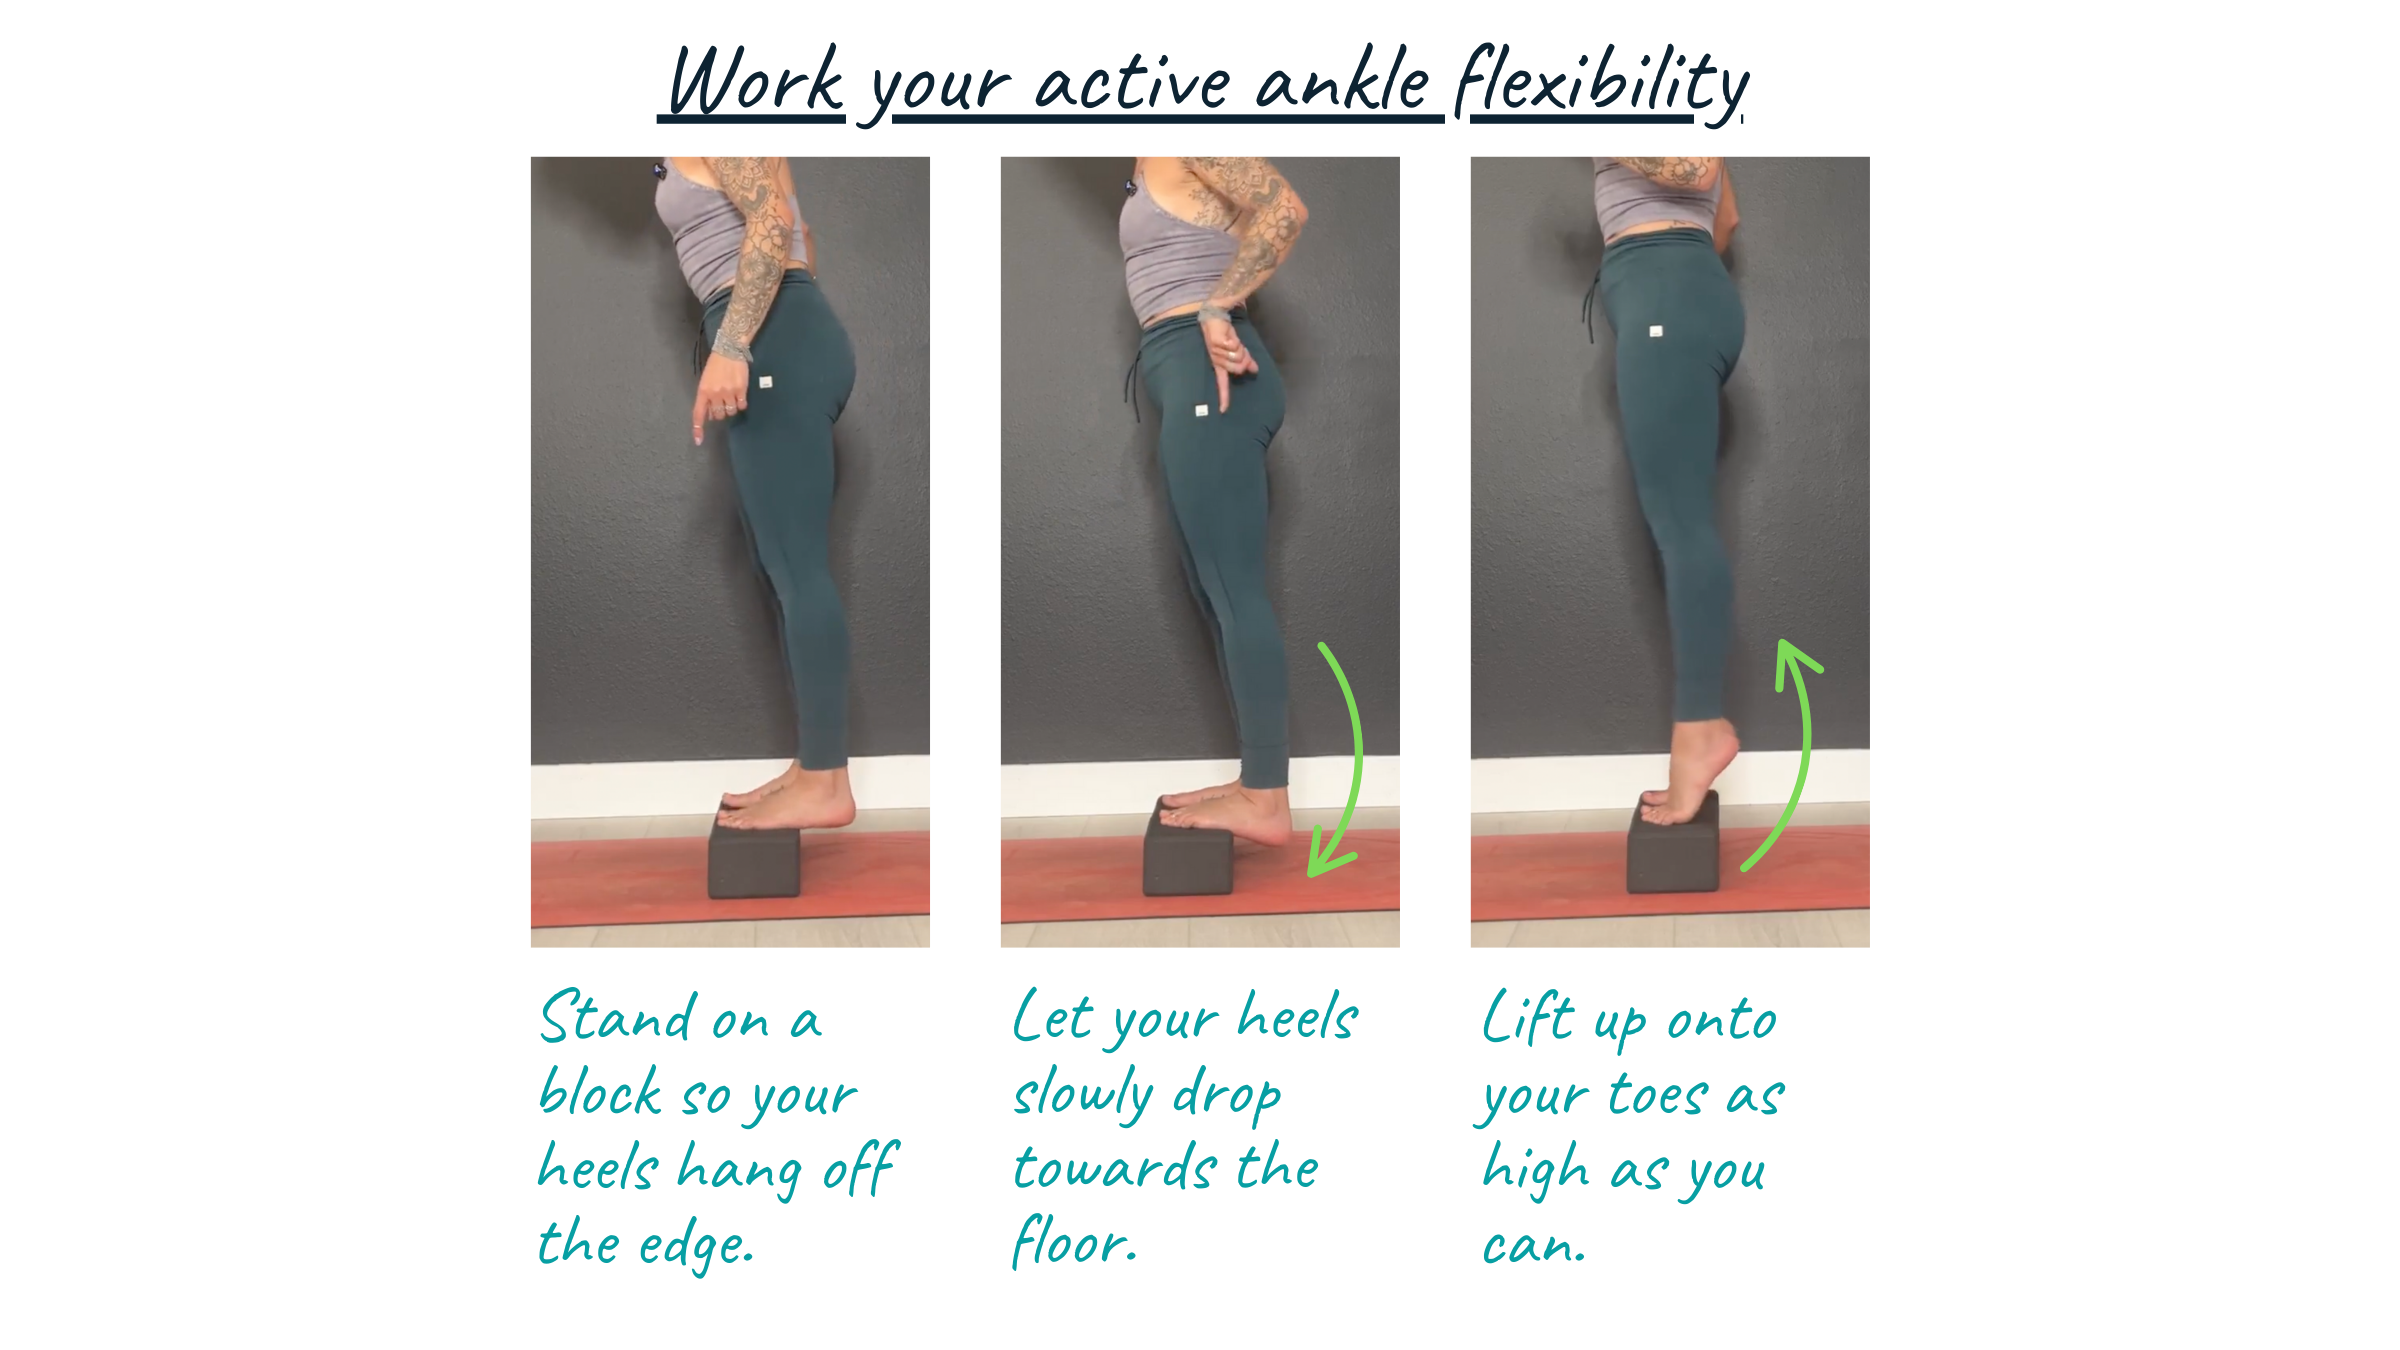
2. Active Drills
MFR can free up tight calves, but the real magic happens when you also train your ankles to move with control. That’s when your muscles start supporting deeper, steadier squats and lunges, and your heels finally get a chance to touch the floor!
Try this drill to build your active ankle strength:
- Stand on a block, door step, or thick book so your heels hang off the edge.
- Let your heels drop towards the floor. Hold for a few breaths.
- Press into the balls of your feet and lift up onto your toes as high as you can, engaging your calf muscles to create the movement.
- Lower and lift as slowly as you can (it's ok to shake, we're not watching!).
- Do a few rounds, and for an extra challenge, add a few pulses at the top.
3. Grab A Prop
Props aren’t cheating. If you try the MFR drills and the block drill and find that your heels are still popping up, grab a block or a folded blanket to place under your heels. This lets you be in the pose without needing to strain your ankles or lower legs (or grit your teeth).
Props aren’t a shortcut, they’re a way to practice safely and consistently, which is the real win.
The Takeaway
Lifted heels aren’t a problem in your yoga poses - they’re information. Your body is telling you where it needs attention. Combining MFR, active flexibility drills, and props lets you work on ankle mobility safely and steadily. With consistent practice, your heels will come closer to the mat, your squats will feel more stable, and your calves will feel less tense.
If you love this kind of clear, no-nonsense breakdown, check out my No BS Yoga Pose Library. Inside, you’ll find 90+ yoga poses with step-by-step video tutorials, alignment tips, and modifications so you can work with your body instead of against it. Grab my No Bullsh*t Yoga Pose library here!
Want to See All of This in Action?
Check out my YouTube video where I break all of this (and more) down!
