3 Tips for Mastering Grasshopper Pose
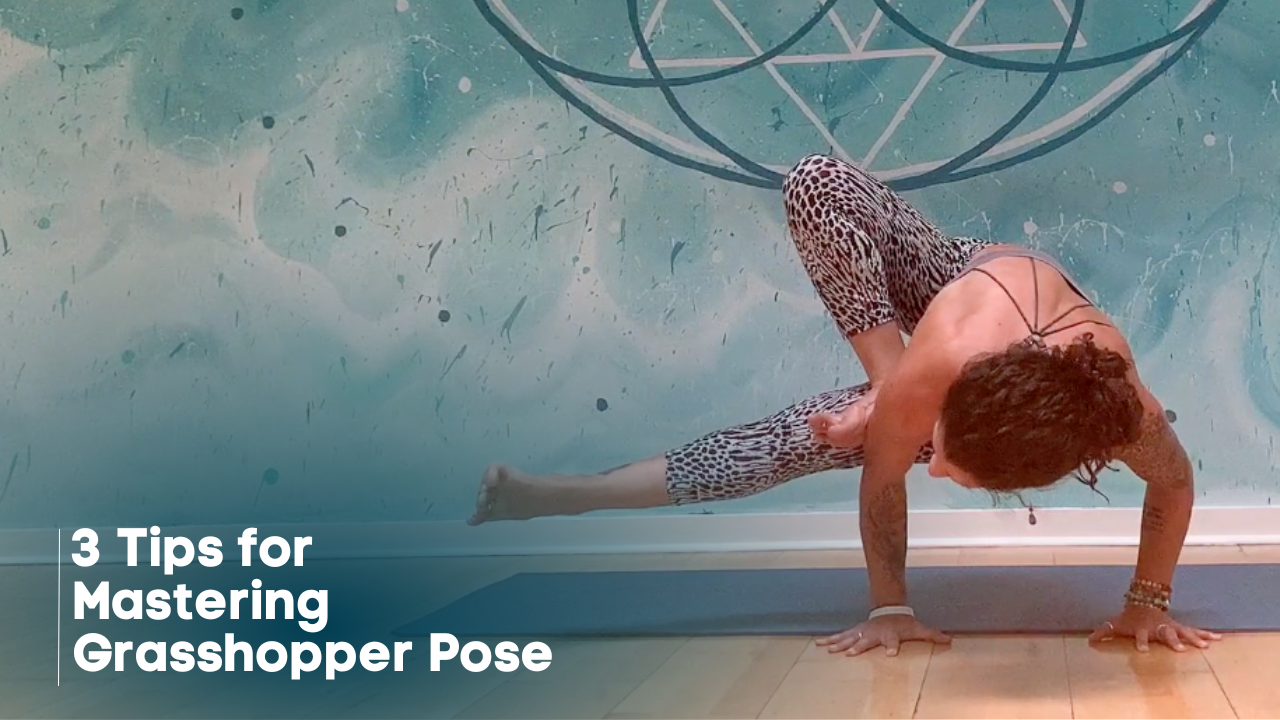
If you’ve ever looked at a photo of someone in an arm balance and found yourself tilting your head left and right trying to decipher the human origami in front of you, you were probably looking at Grasshopper (Parsva Bhuja Dandasana).
This spicy pose is part hip opener, part spinal twist, and 100% arm-balancing wizardry. Sounds complicated? I won’t lie, it’s no walk in the park. But also? Totally doable with the right approach (and a good sense of humor).
Whether Grasshopper reminds you of playing Twister in your living room or feels like your spine and hips worst nightmare, I’ve got you! Here are my 3 not-so-secret tips to help you decode and nail this fabulous arm balance.
Tip #1: Foot-to-Tricep Hack
You may be wondering how to get your foot on your tricep or arm in grasshopper to begin with. Let me help you…
The most common way into Grasshopper starts in a figure four (chair) pose. From there, bend your standing leg and sink into a squat. Bring your hands into prayer and twist your chest toward the lifted foot, aiming to connect the sole of that foot to your tricep on the same side (left foot = left tricep).
Tight in the twist? Try this hack: Instead of crossing your ankle all the way over your thigh with the foot hanging out, bring the foot toward the center of your thigh. This shortens the twist and makes that foot-to-tricep contact way more doable.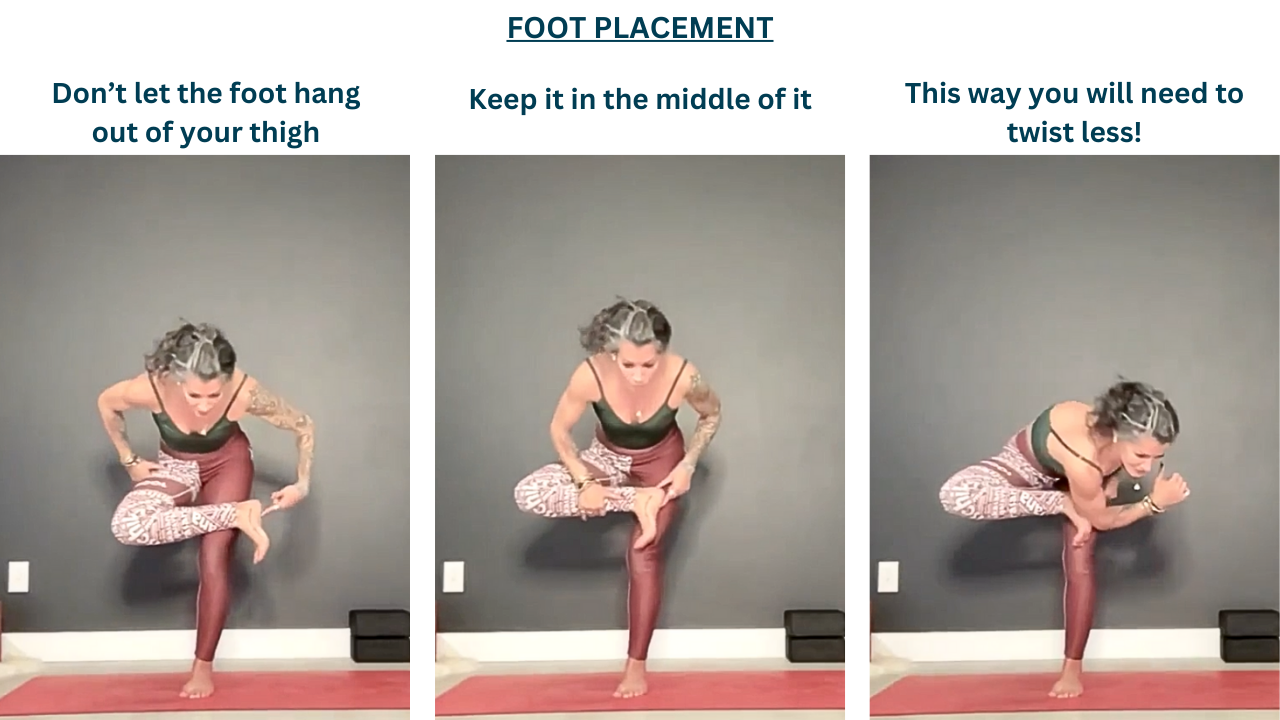
If, once you twist, your foot is barely hanging on to the tip of your elbow, take your time to fight to bring the foot closer to the armpit. This way, if the foot slips down a little bit as you set up the pose, you will still have a solid base to work from.
Tip #2: Is your standing set-up wobbly? Start from a sitting position.
If twisting in your figure four chair feels like an earthquake is shaking you off balance, or if getting low to the floor from standing is a "the floor is lava" moment, ditch the standing setup altogether.
Instead, start seated. Not flat on the mat (it will be harder to lift your butt after), but on one or two yoga blocks to elevate the floor. From here, set up your figure four, work the twist, and connect your foot to your tricep, without worrying about balance. So much more stable. So much more doable.
Tip #3: Your Back Leg Helps You Hold The Pose
Once your twist is solid and your foot is chilling on your tricep, it’s go time! Plant your hands, bend your elbows like Chaturanga, and start shifting your weight forward. Did you face-plant? No biggie, celebrate your attempt and remember to grip the mat with your fingers to stop the fall as you shift forward! You can’t lift the back foot? There may be something else going on that needs to be addressed. Take a look at our article covering the 3 reasons you’re not flying your arm balances to figure out what it is.
Here’s the not-so-obvious trick: as you lift and extend that back leg, press the upper thigh against the ankle of the foot that’s pressing into your tricep or elbow. This little connection keeps the foot glued to your tricep and stops it from sliding off like a rogue bar of soap. Teamwork between all your body parts makes the grasshopper fly!
Ready to Nail Your Grasshopper?
Grasshopper is one of those poses that looks wild until you break it down, and then it’s still a little wild, but suddenly you’re the one doing it! That moment when you balance and everything clicks? Straight-up magic.
If you’re ready to leap higher and fly into arm balances like a really cool grasshopper, join the thousands of students who said “holy shit I can DO this” with Yogi Flight School!
We break down poses like Grasshopper into step-by-step magic so you can stop watching from the sidelines and start soaring on your mat.
Let’s go! Your wings are waiting.
