How to Make Pigeon Pose Work For Your Body
Your Ultimate Guide to Pigeon Pose: Alignment Tips, Modifications and Next-Level Variations
Pigeon Pose is one of those yoga poses that everyone loves to hate. I get it, it can feel awkward, uncomfortable, or even downright painful if your hips aren’t ready. I used to struggle with it for years. But once you know the right alignment, how to modify it, and how to protect your knees, it can actually feel amazing.
In this article, I’ll breakdown exactly where your body should be, how to make the pose work even if your hips are tight, and how to safely progress toward Mermaid Pose. By the end, you’ll feel confident flowing into this pose without pain or frustration.
Forget the “Parallel Shin” Rule
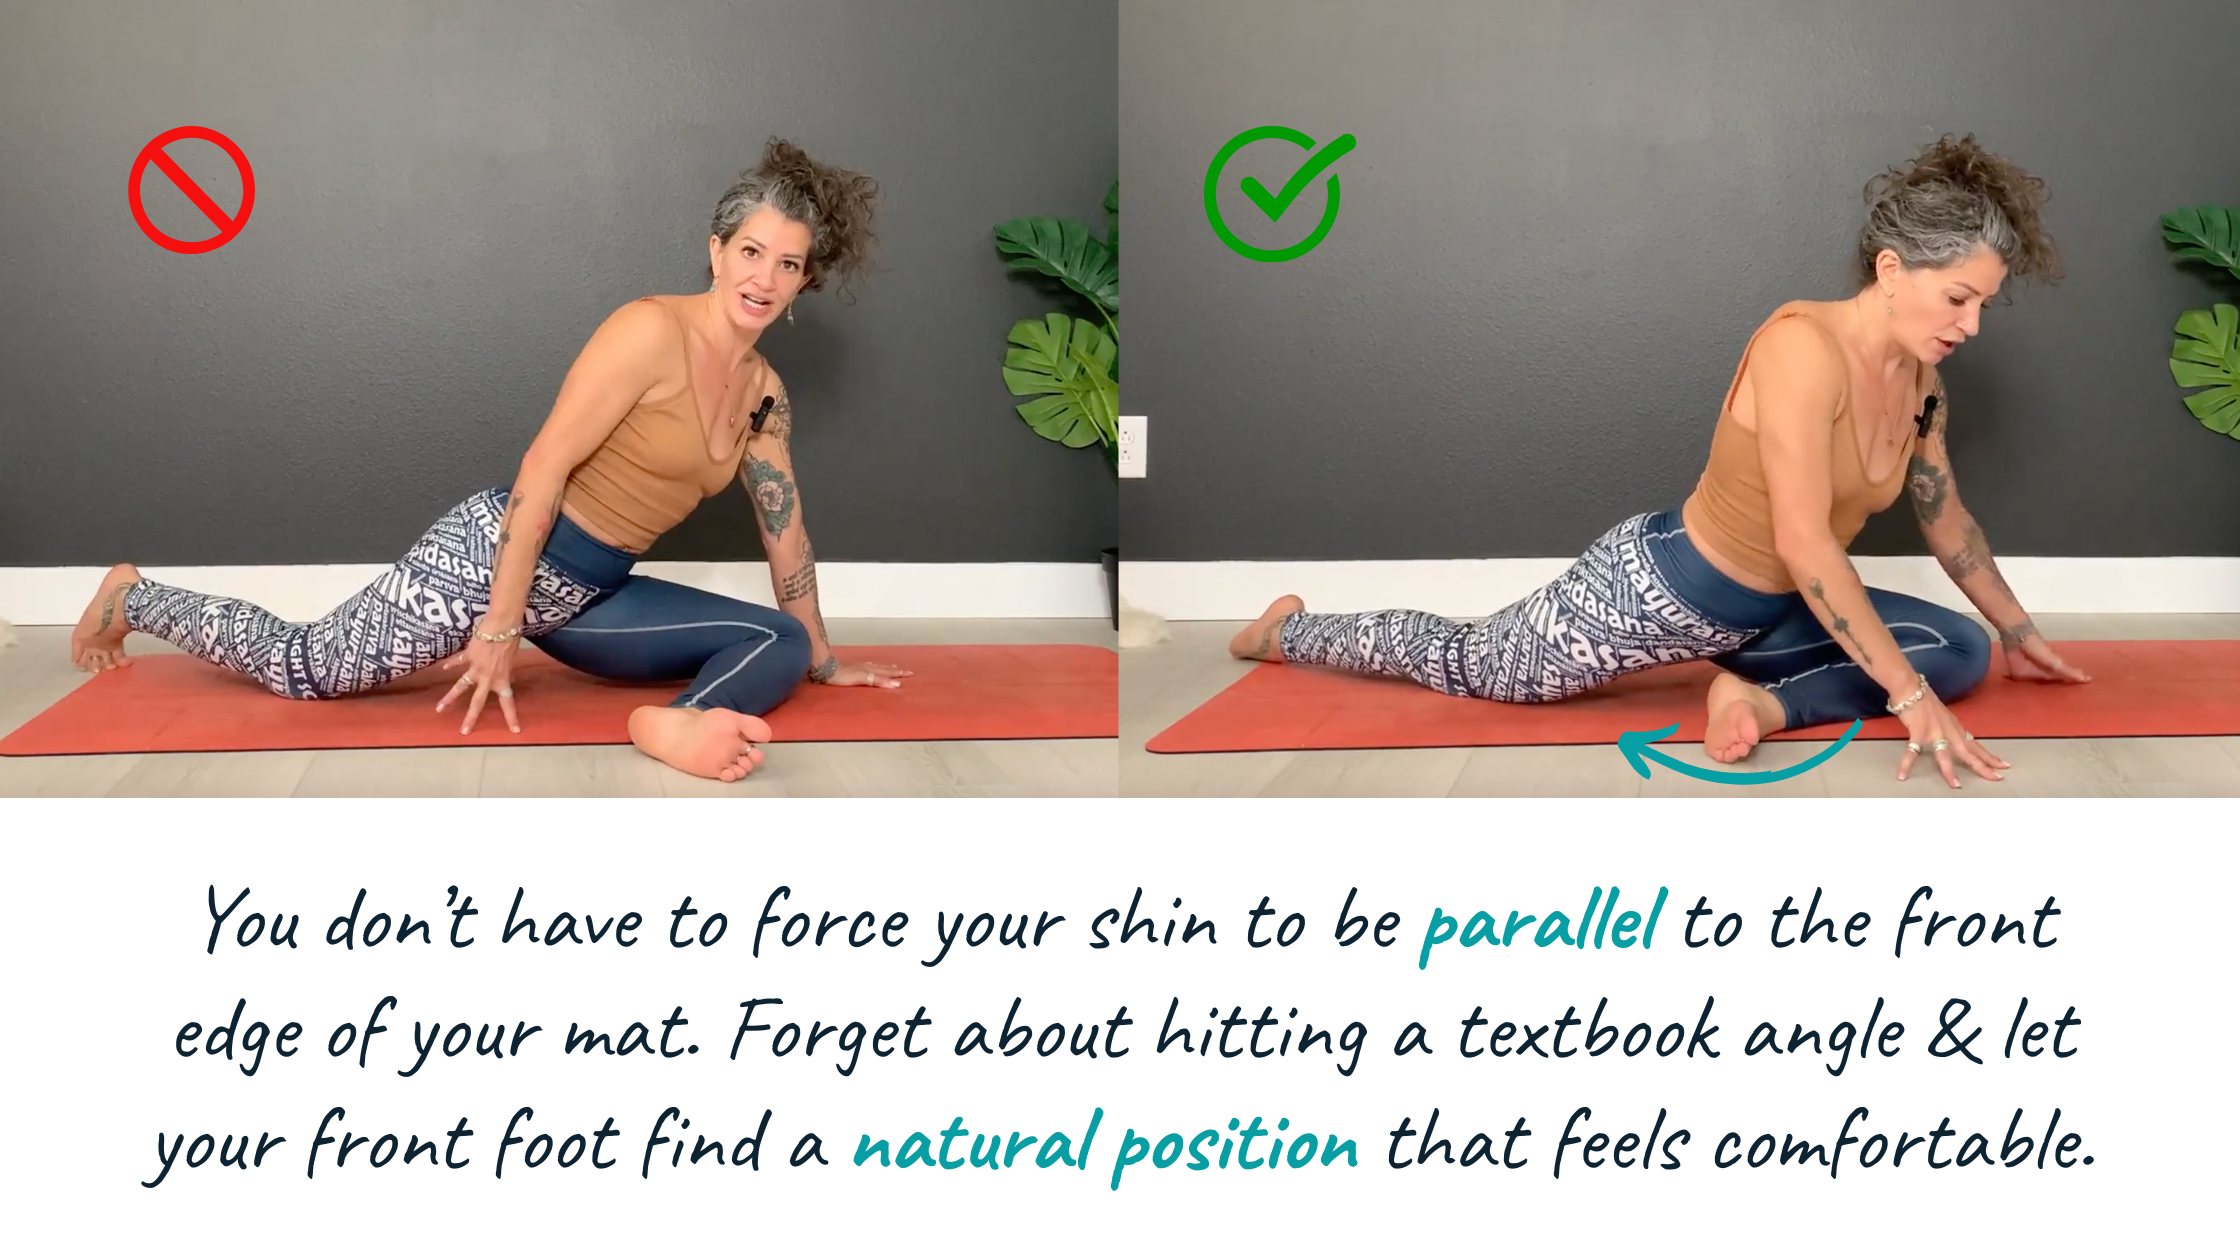
You’ve probably heard the classic cue: “Make your front shin parallel to the top of your mat.” Sometimes that works, but for lots of us, it’s a recipe for tipping over or straining our knees. The real goal of Pigeon Pose isn’t a perfect angle: it’s to stretch your glutes and piriformis, those deep little muscles in your hips that get tight from sitting, running, or overdoing other poses.
The good news? You don’t have to force your shin all the way forward. Let your front foot find a natural position that feels comfortable. Forget about hitting a textbook angle, your body’s comfort and stability come first.
Keep Your Knee Outside the Shoulder
Balance can be tricky in Pigeon, especially if you want to move into Mermaid Pose later. A lot of people put their front knee directly in front of the body, which makes them much more likely to tip over. Instead, move your knee slightly outside your shoulder. This creates a wider base for the pose and makes it easier to stay stable. From there, adjust your foot until it feels right. There's no such thing as "perfect" alignment, just what works for you.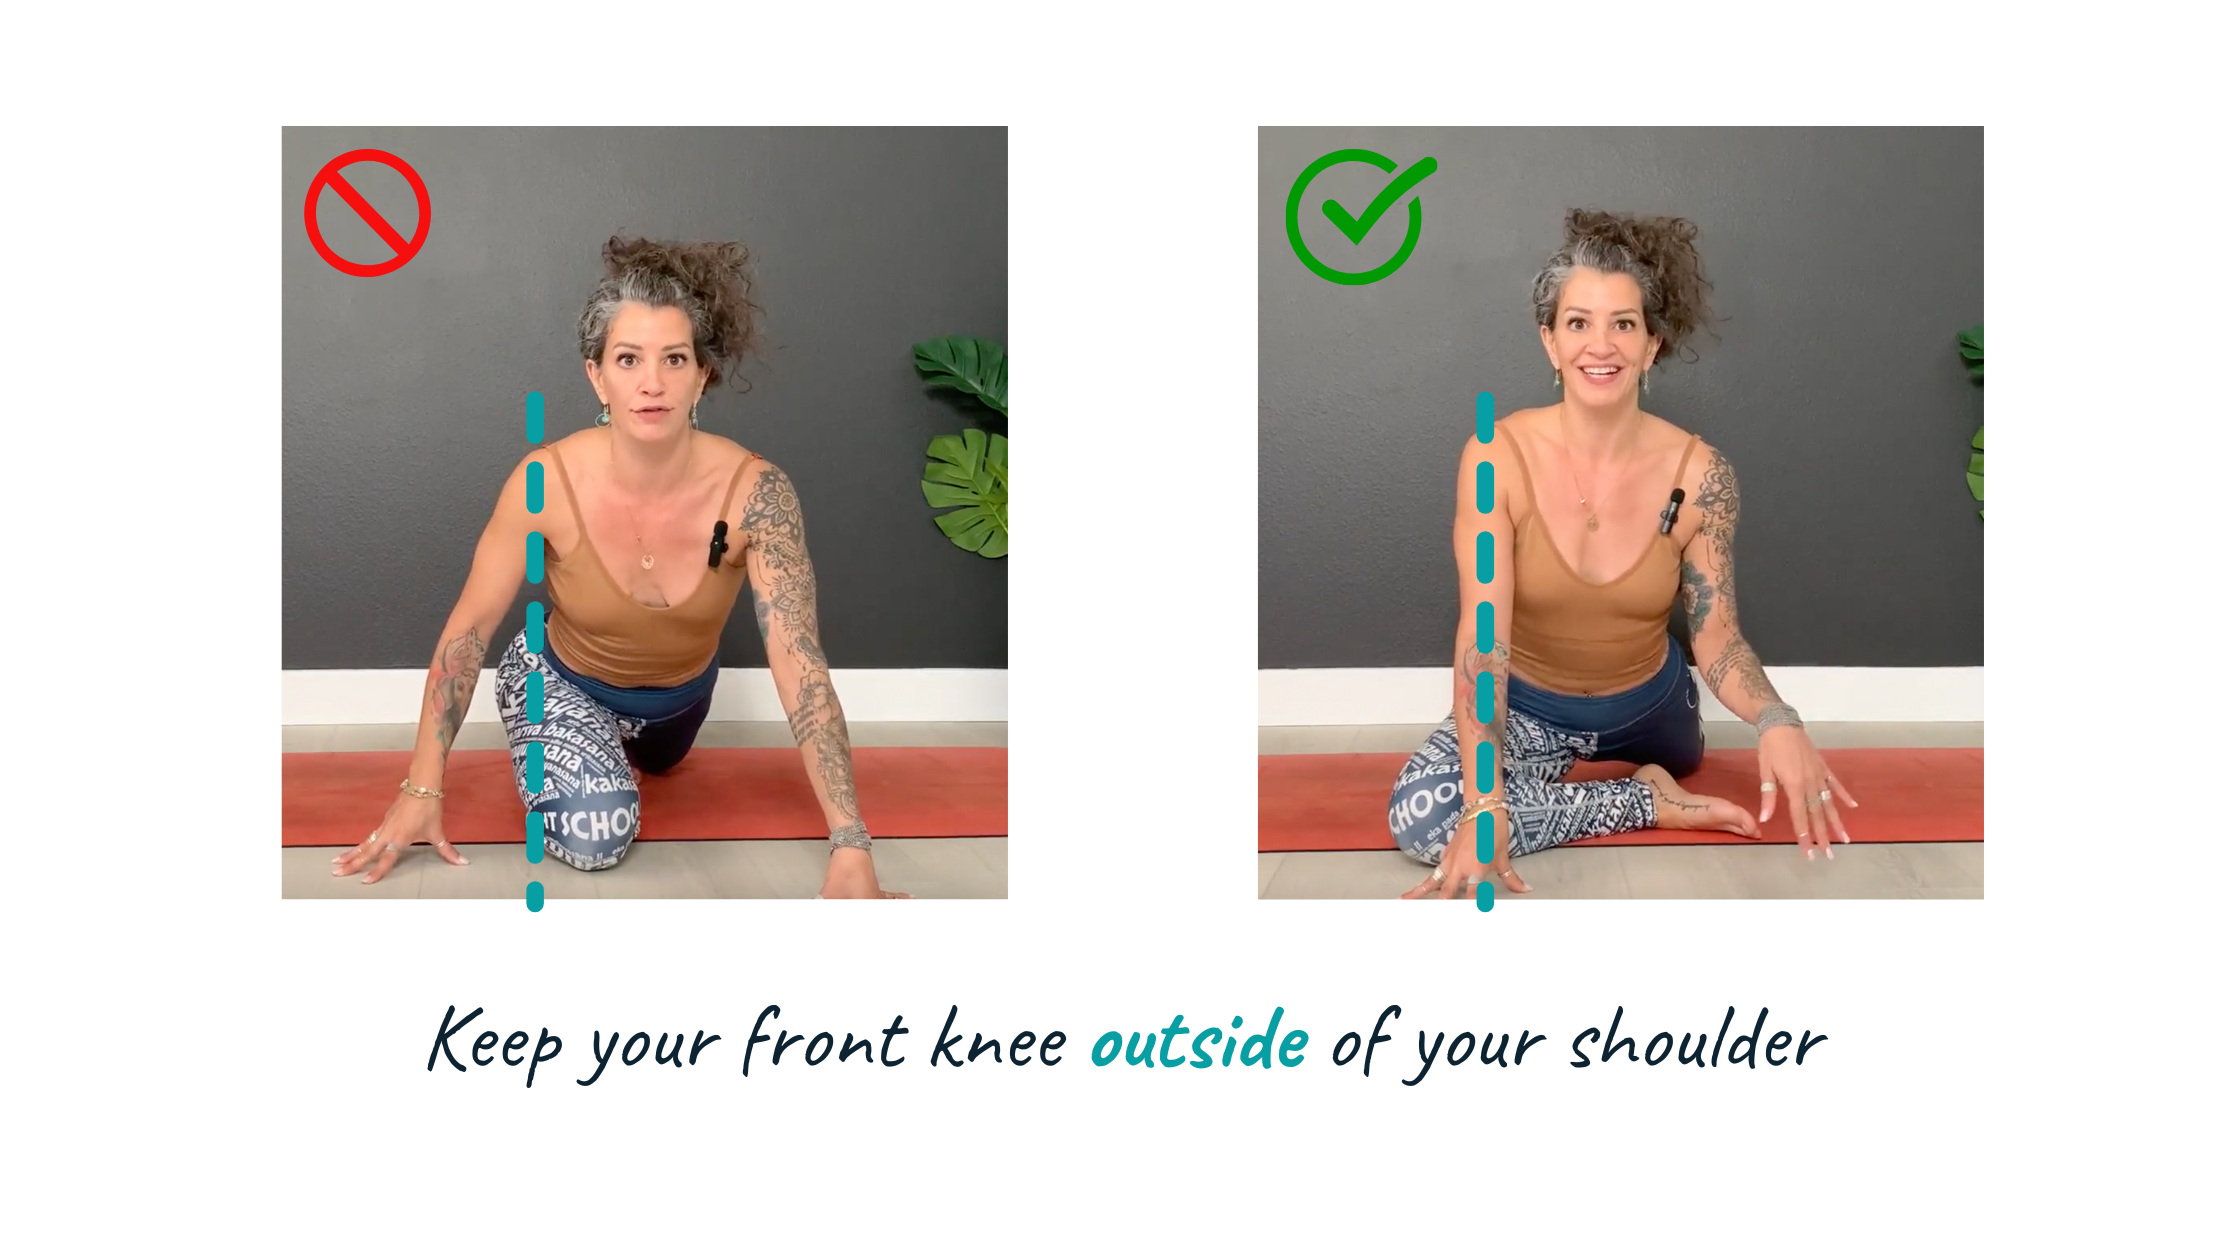
Knee Protection and Foot Position
Maybe you’ve heard the cue to flex your foot to protect your knee. The truth is, flexing the foot mostly affects the ankle - not the knee!! Knee safety comes from keeping your hips aligned and placing your knee in the right spot. Focus on keeping the knee outside your shoulder and engaging your hips. This reduces stress on the knee and helps you move safely into the pose.
By the way, if you enjoy breaking down yoga poses this way, you might love my No BS Yoga Pose Library. It has over 90 poses with step-by-step instructions, alignment tips, and easy-to-follow tutorials. Check out my No Bullsh*t Yoga Pose Library.
Why Your Knees May Hurt in Pigeon Pose
If your knees complain in Pigeon Pose, don’t panic! It doesn’t necessarily mean something’s wrong. Often, it’s a sign that your hips are tight. Tight hip muscles pull on the tissues crossing the knee joint, especially when your knee is deeply bent under your body weight. The best way to prevent discomfort? Warm up your hips, use props, or try a modification.
Modifications for Knee Comfort
- Warm up with gentle hip stretches or a massage ball to release tension in the glutes and piriformis.
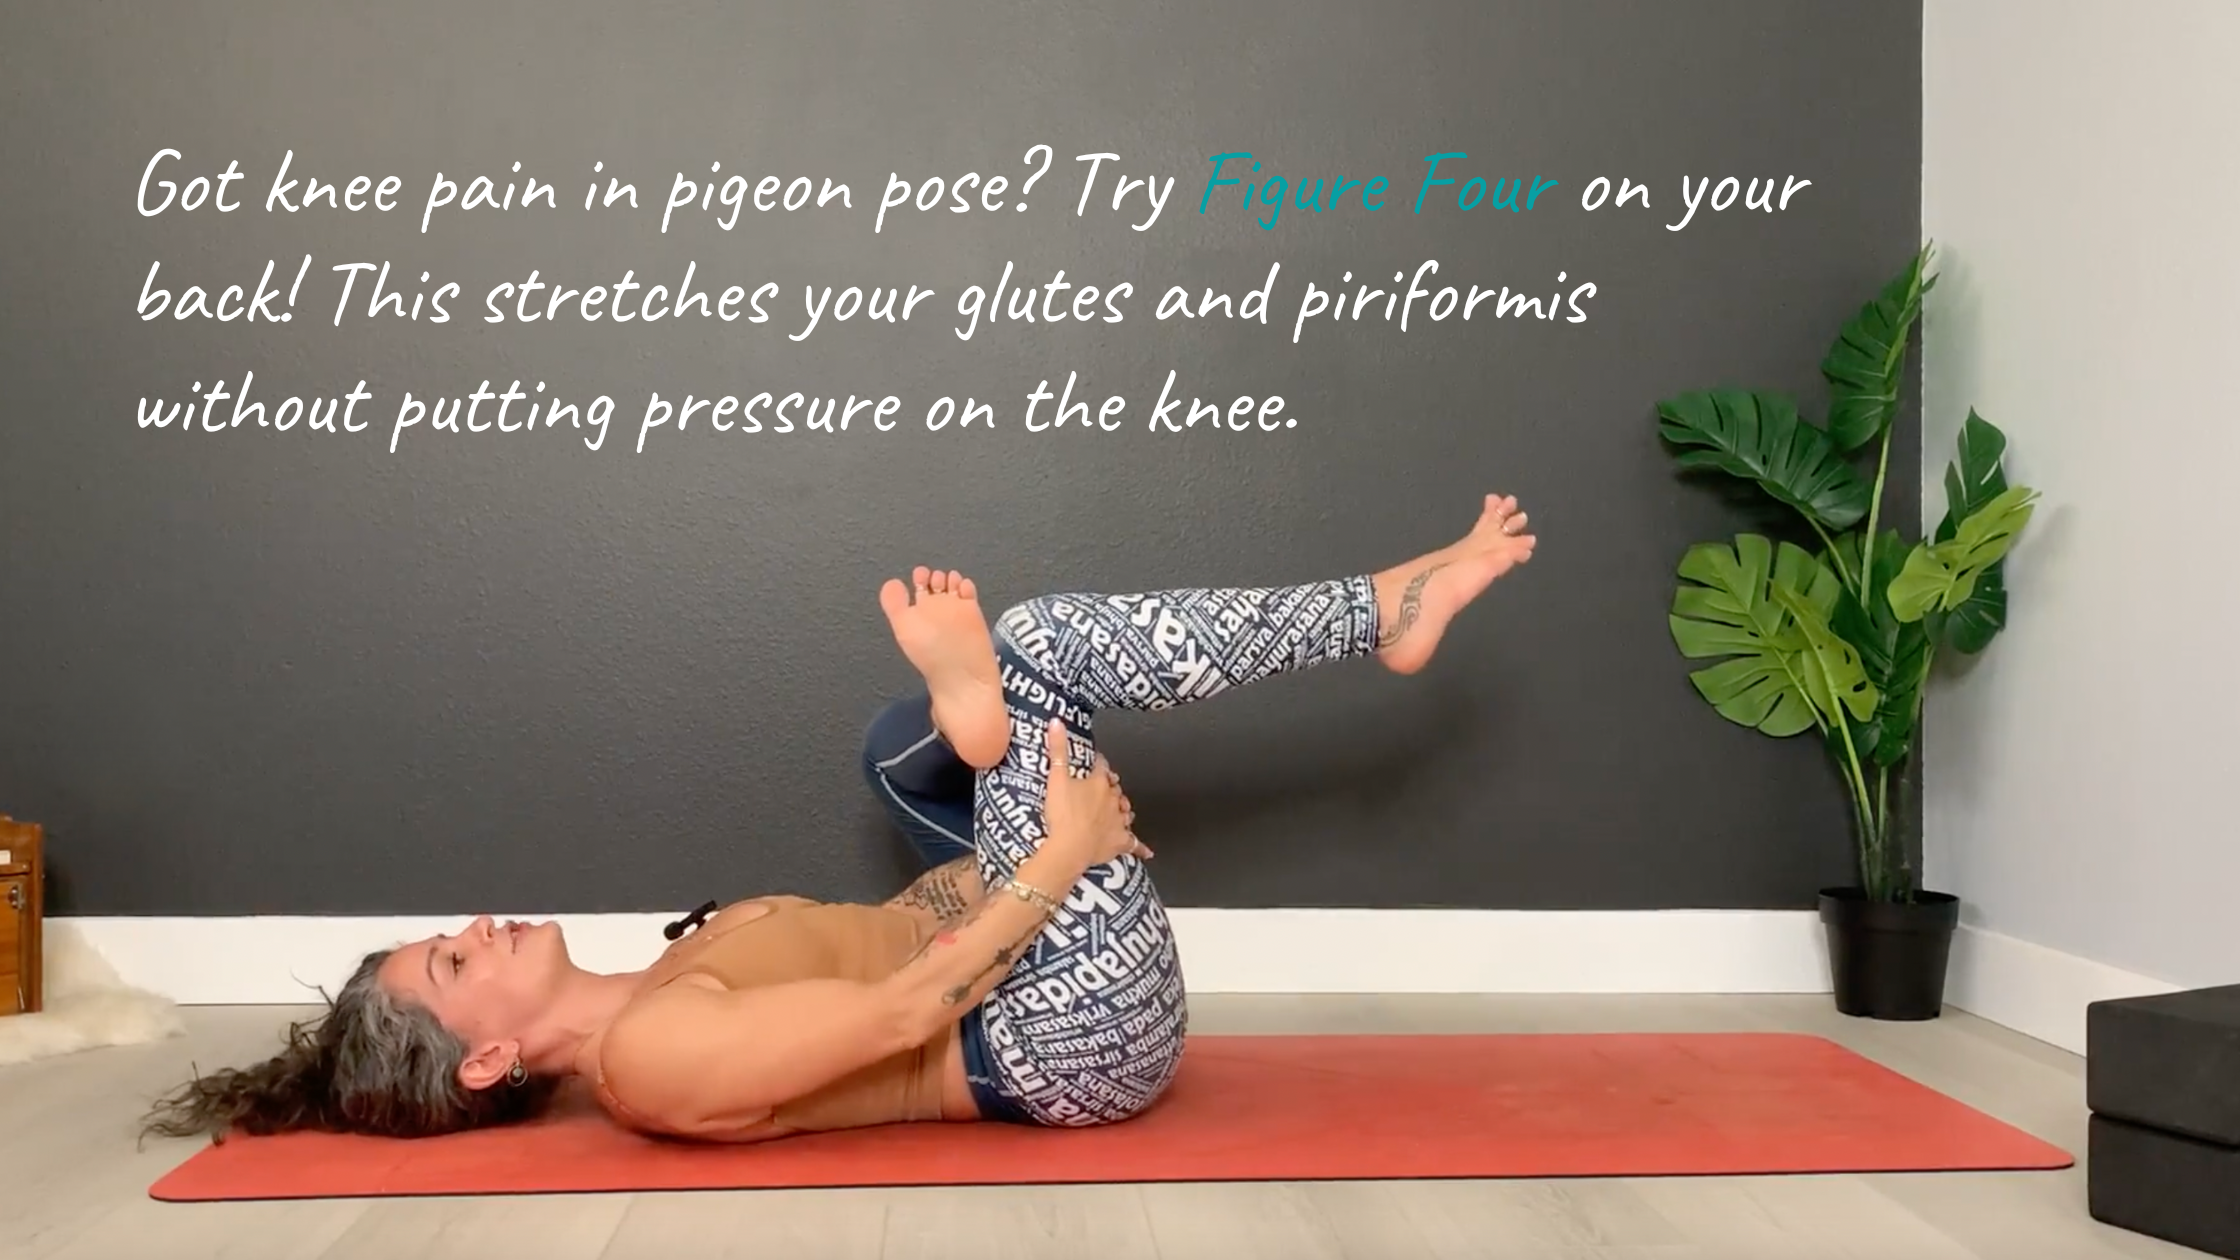
- Try Figure Four on your back. Cross one ankle over the opposite knee and gently move the lifted leg away from the body. This stretches your glutes and piriformis without putting pressure on the knee.
- Use a block or folded blanket under your hip for support in pigeon pose.
Progressing to Mermaid Pose
Mermaid Pose is a beautiful backbend that flows from Pigeon, but it can feel wobbly if you’re not ready. To prep, keep your front knee outside your shoulder, stay active in the pose, and press your front shin into the mat to lift your pelvis. Only reach for your back foot once you can maintain your balance. If you need extra support, a block under your hip helps a lot. Remember: engagement and stability are more important than how deep you go.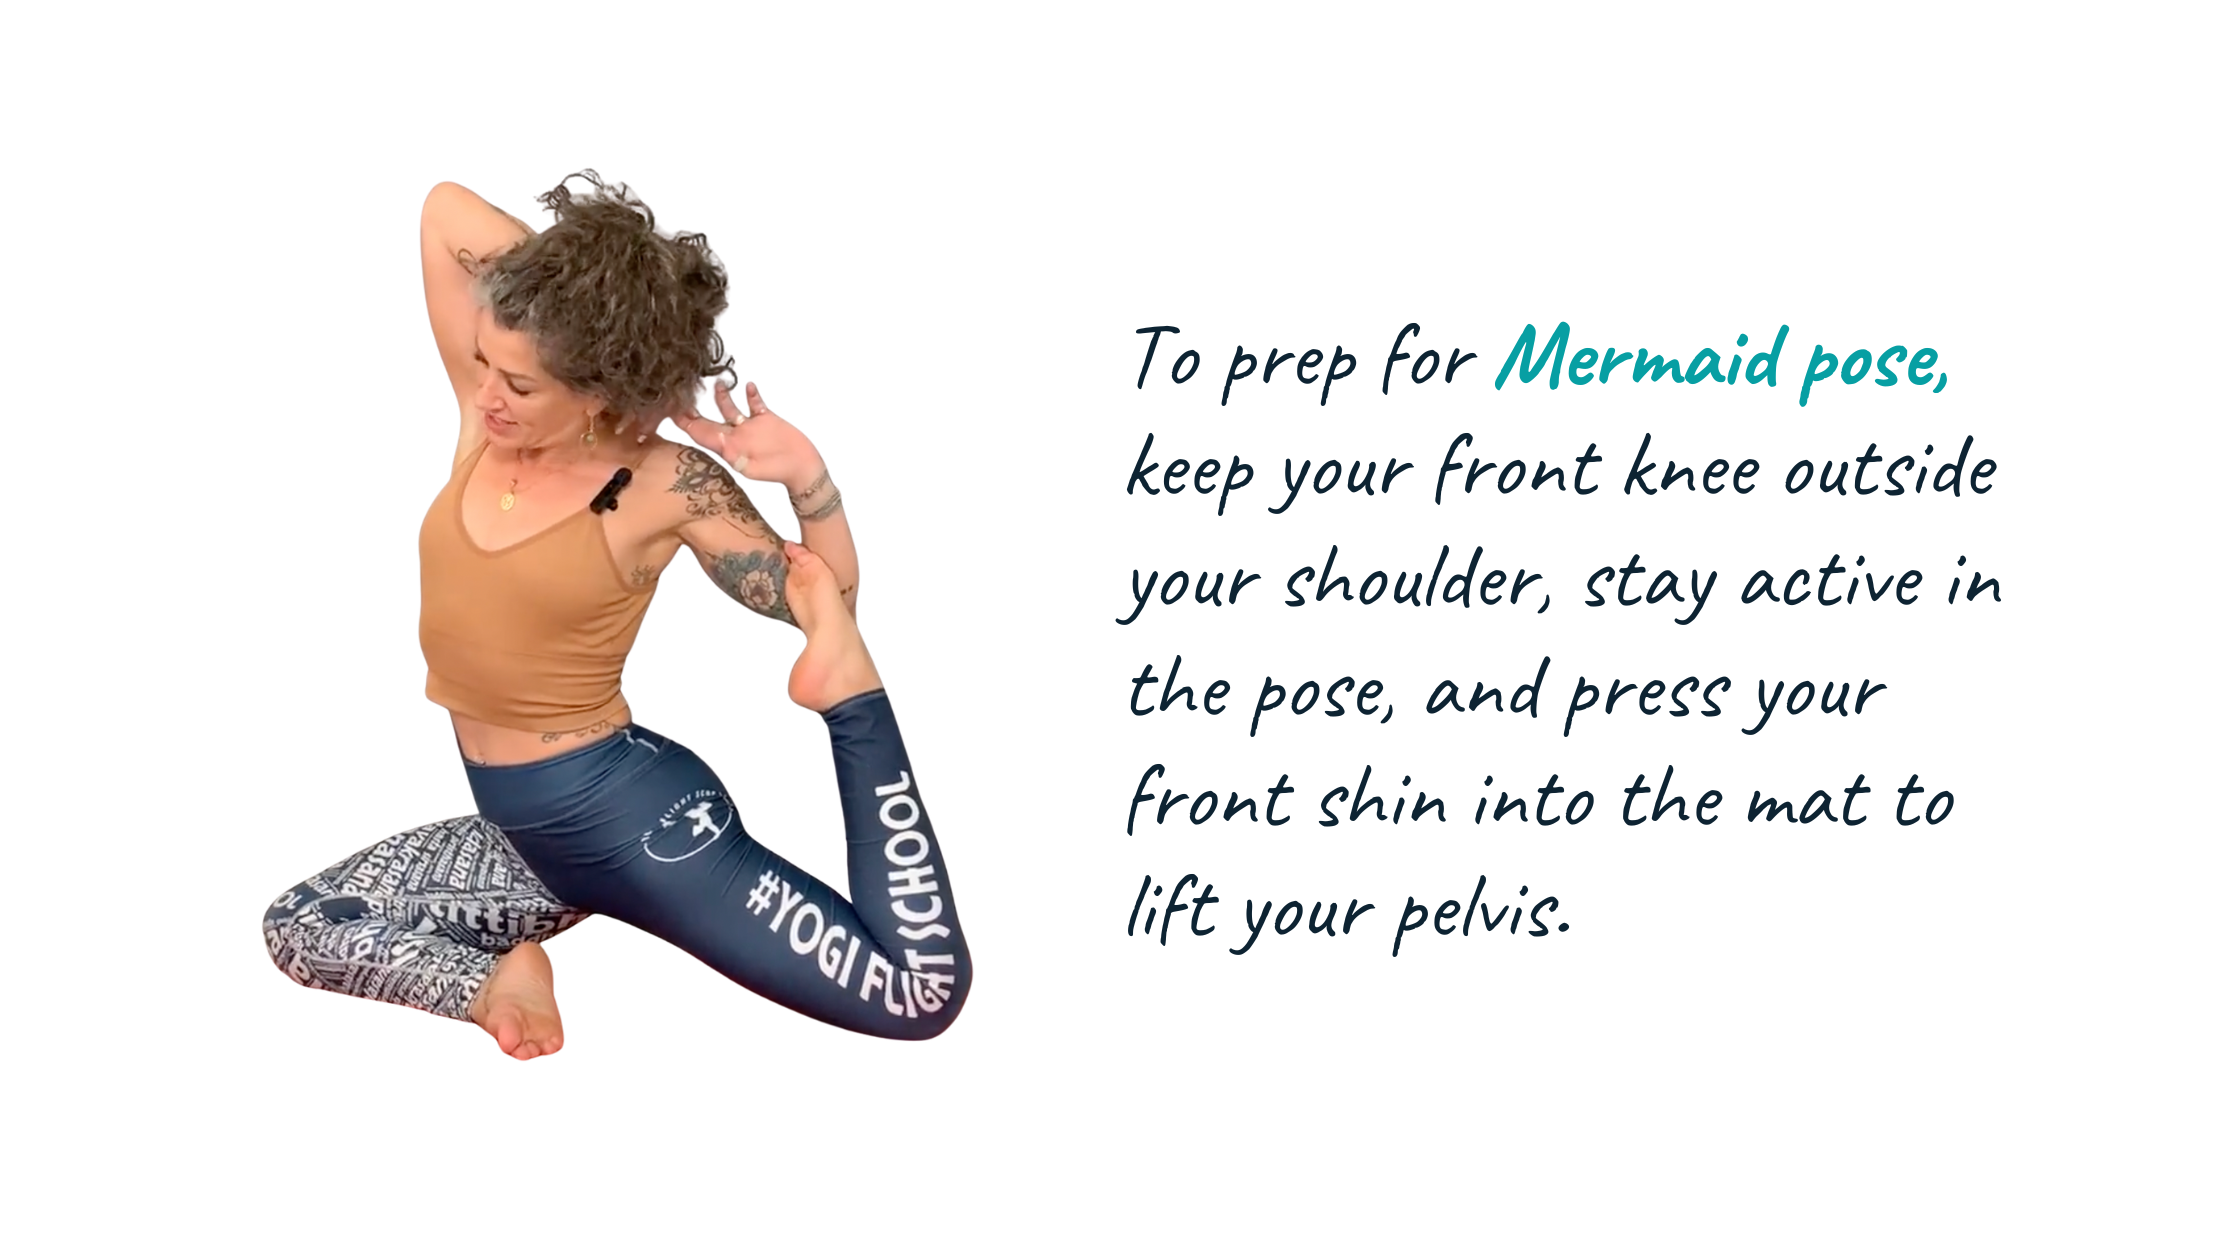
Key Takeaways for Pigeon Pose
- Forget about your shin angle. Find a position that works for your body.
- Keep your knee outside your shoulder to stay balanced and stable.
- Warm up your hips and use props to protect your knees.
- Stay active in the pose. Engage your muscles rather than plopping in.
If you want to see this all in action, check out my YouTube video where I break all of this (and more) down!
With these tips and modifications in your toolkit, you can step onto your mat feeling confident, comfortable, and ready to let Pigeon Pose (and even Mermaid Pose) open up your hips and your practice.
